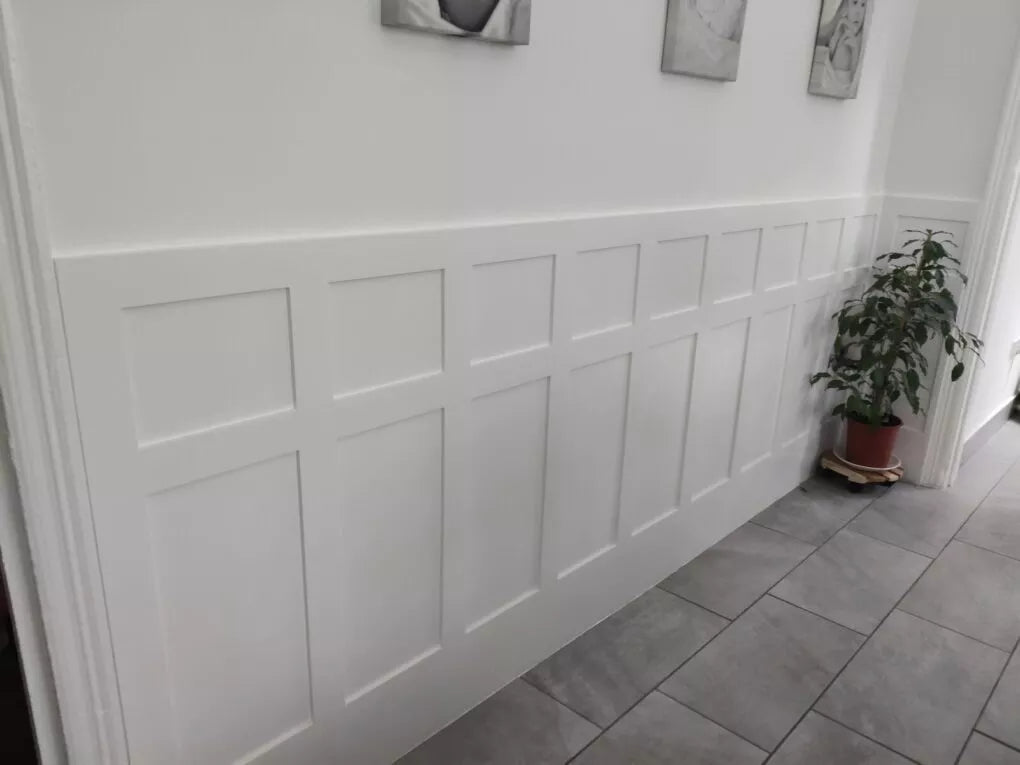
For those that are wanting to add some wall panelling to their homes, the hall and more particularly the stairs, might be a great way to add some character to your home and make an impression on guests from the second they enter your home. However, some people might find it a challenge when it comes to panelling the stairs and by making sure the panels are at the correct angles and making it look right in their hallway. Don’t worry- this guide will try to make panelling your stairs an easy and fun project and provide you with step-by-step instructions on how to panel a staircase.
What Tools Do You Need?
- A hand saw- if you do have one, use a tenon saw
- Spirit level
- No More Nails adhesive
- Pencil
- Tape measure
- Site Protractor - helpful for measuring angles
- Panel Pins
- The wall panels of your choice- We offer wall panels in a Edwardian, Georgian, Elizabethan, Shaker and Tongue & Groove range.
- Paint and paintbrush - if you are looking to paint your panels
Step 1- Measure For The Dado Rail
To add panelling up stairs, the first step is to measure for your dado rail. This should be done using the tape measure and the rail should be either in line with the bannister or about 1 metre from the floor.
You need to make sure the rail stays at 1 metre from the floor as you go up the stairs, so you could always use an offcut piece of wood to make sure the rail will be the same level when panelling on stairs.
How High Should Panelling be on stairs?
As mentioned above, stair wall panelling should be 1 metre high and this should be consistent as you go up the stairs.
Step 2- Attach the Dado Rail
Once this is measured up, you should fit the dado rail to the wall. This should be done using the No More Nails adhesive.
If your walls are not straight, then you should use a panel pin to keep the rail in place or ask someone to help!
Step 3- Make Sure You Have The Correct Angles For The Panels
Next is one of the more trickier aspects of stair panelling. You need to make sure that the angles are all correct when it comes to adding the panels to the wall. Use a site protractor to accurately measure and position your wall panelling on your stairs.
After this, measure that the wall panels are of equal distance between each other.
Step 4- Cut Your Wall Panels So They Fit
Now you need to make sure your stair wall panels fit perfectly up the stairs. Use your hand saw to cut the panelling accurately to the correct size following your measurements closely.
Step 5- Add Your Wall Panels
Then you should attach your wall panel to the wall. Use the marking on the wall as a guide to ensure your wood panels are the right measurement and the correct distance apart.
Step 6- Paint
After your stairway wall panelling is secured, the final task is to paint the panels in a colour of your choice. Once the paint has dried, then you are done and ready to impress your guests! Pick a colour that will suit the aesthetic of your home.
Stair Panelling Tips And Ideas
- Panelling can add texture to your walls rather than wallpaper
- Experiment with colour! Paint your wall panels in any colour. Dark colours add depth and neutral shades can help a narrow staircase look open
- Once you have finished painting, sand any imperfections with sandpaper to achieve a smooth finish
- Choose the right panelling for you. There are many different types of panelling from traditional looks to modern panels so be sure to pick a panelling style that will suit the aesthetic of your home
- Keep the wall above your panelled wall plain to create a feature in your home
FAQs
Why should I panel my stairway?
Not only do panels add character to your space but they can also help to protect your walls from everyday wear and tear. You can paint your wall panels to match the look and feel of your home. It is an easy way to transform your space.
Can anyone panel a stairway wall?
Our wall panelling kits are easy to fit and install. So whether you are a DIY enthusiast or a beginner to DIY, you will be able to panel your stairway walls with our kits and helpful guides.
What is included in a wall panelling kit?
Our kits include premium moisture resistant MDF wall panels with the option to add an End Post to your order. Some kits also include a backboard.
How long will it take to panel a stairway?
The time it takes can vary depending on your level of DIY knowledge. Give yourself a day or two to fully finish your stair wall panelling. Allow enough time for your panelling to dry before painting.
If you have any questions regarding the different wall panels we offer, or would like further guidance on how to panel the stairs in your home, then please get in touch today. Have fun transforming your home with our easy to install wall panelling kits!

